Hippity Hoppity Easter Bunny Face Craft
Easter is nearly here, and that means it’s time for some adorable crafts with the kids. With Spring Break upon us for so many parents that means that crafts, particularly those related to Easter, are the perfect way to entertain kids. It’s also great as an activity as part of an Easter party. For this project, you only need a few artistic ingredients to pull this off. With a little bit of cutting and gluing, your little one can turn some regular household items into Peter Cottontail himself.
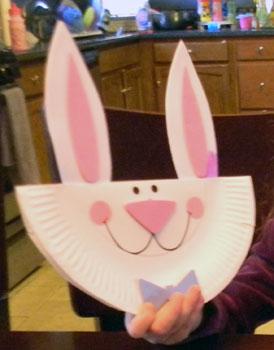
What You Will Need:
- One white paper plate
- Two pink circle stickers
- One black marker
- One piece of white foam paper
- One piece of pink foam paper
- One piece of blue foam paper
- scissors
- glue stick
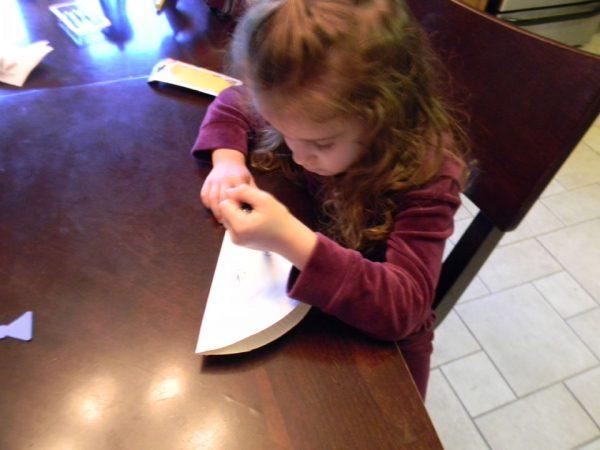
You want to start by taking the white paper plate and folding it in half horizontally. Be sure that it’s folded equally and that this fold is secure as it will form the top of the bunny’s head where you will glue the ears to.
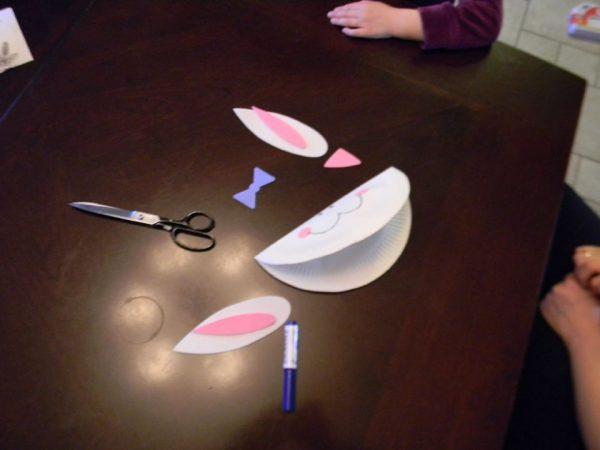
Once you have half of the paper plate in front of you, it’s time to go to work in creating the bunny’s face. Start by placing the two pink stickers as the ends of the bunny’s mouth. Place them far enough apart that you can draw a little bunny smile in between them. Draw two black dots for the eyes, or add googly eyes you may have left over from another project. Next is the smile, starting from one pink circle down, then curved up again by what will be the nose, and then back down again to curve up at the second pink sticker.
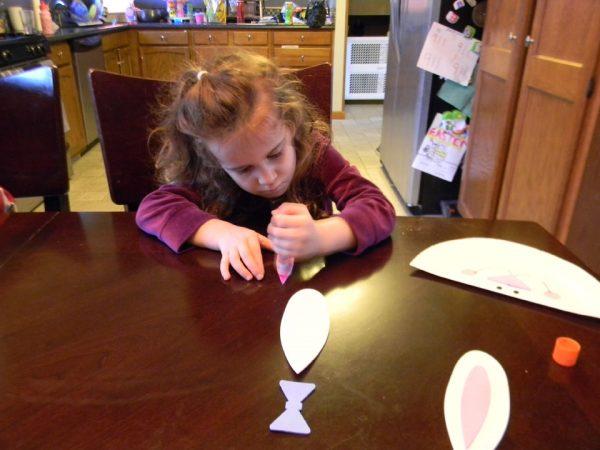
Using the white foam paper, cut out two bunny ears. With the pink foam paper, trace and cut out two smaller pieces that will fit inside the ears. With another section of the pink foam paper, cut out a little triangle to make the bunny’s nose. Finally, with the blue piece of foam paper, draw by hand or trace the shape of a bow. It should be one piece that has two triangles on either end and then a small circle in the middle. Voila you have a cute little blue bow tie to show off as a fancy accessory. Set all pieces aside.
Putting Everything Together and Bringing Bunny to Life
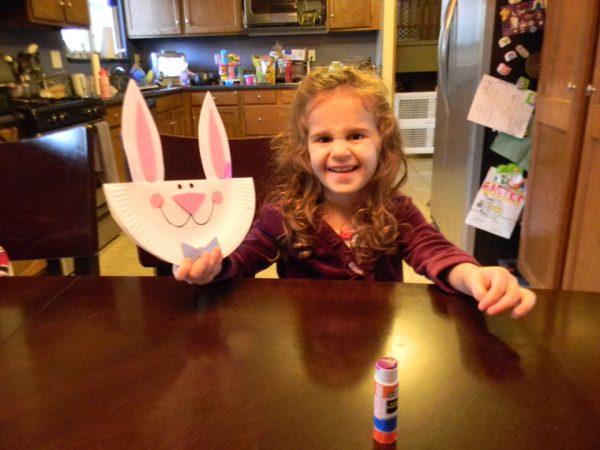
Finally you want to get to work in gluing it altogether. This is where you can let your child take over or just help them a bit. First glue on the white ears at the top of the folded paper plate. Leave enough space so that they look natural like ears and it will go just fine.
Then glue on the pink inner part of the ear on each respective white ear. You will really start to see the bunny take shape when you glue the pink to the white as it’s such a classic telltale sign of Mr. Peter Cottontail himself!
Finally glue on the blue little bowtie at the bottom of the paper plate. Give enough space so that it doesn’t run into the mouth and that it is slightly set apart. This is not a hard project, but you may need to help your child with the cutting and gluing.
Your little preschooler is sure to like creating their own little bunny to display at the table proudly. A fun Easter activity to do together and to get into the spirit of this most festive spring holiday!
